


Youtube Video Tutorial:
Downloadable/Printer Friendly PDF Tutorial
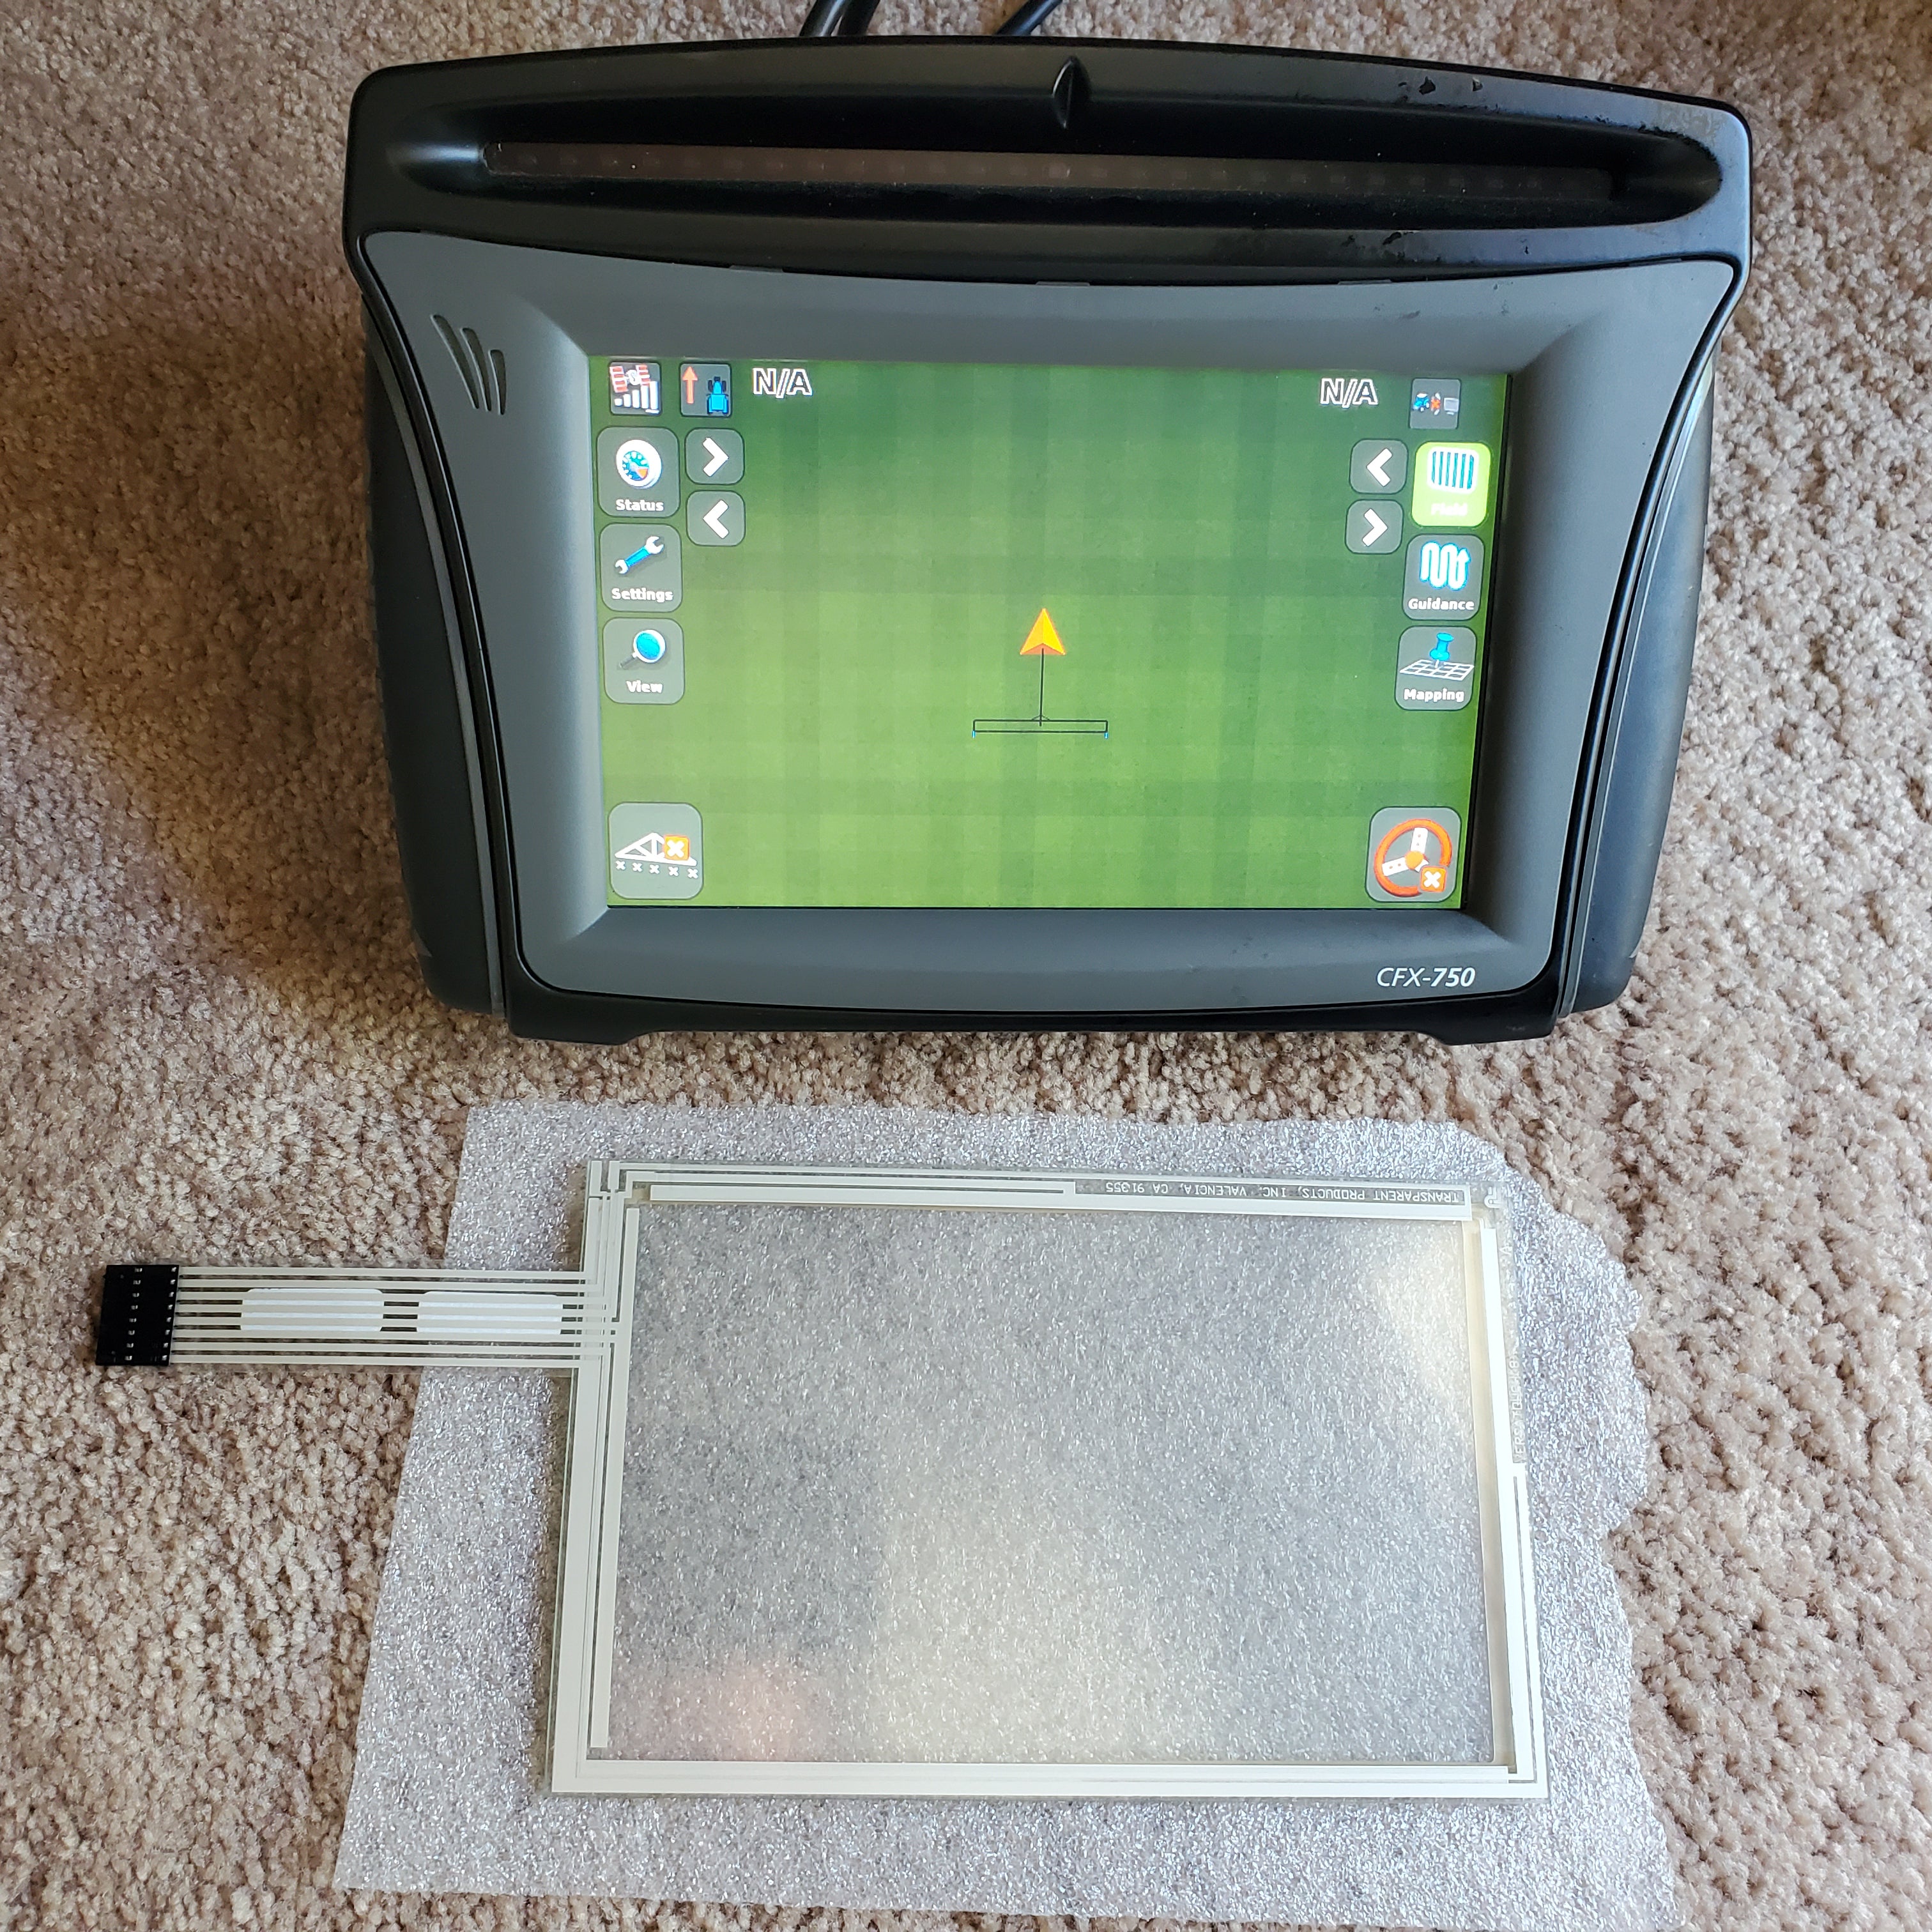
Getting this dreaded "touchscreen event" message to pop up?

*#*Instructions*#*
T15 Torx bit
Phillip Screw driver
Side cutter (to remove zip tie from 9volt battery. You may not have to remove ziptie, it may be slipped out of the way)
Battery model is GP17R8H GP 170 9 volt - Can be found off ebay.


1. Remove your memory card from the side of the display.
2. Use torx T15 to remove all 9 screws from the back
3. Use phillip screw driver to remove the 4 screws around the power plug


This would be an okay time to replace your *rechargable* 9volt battery. Use a side cutter to break the ziptie if required. You can buy an identical replacement battery off ebay by searching "GP 170 9 Volt" or model number "GP17R8H"
4.Push down on the black tab to unlock while you unplug the power cable from motherboard (circled in red). This will allow you to get the back enclosure out of your way while you work.
5. Pull the touchscreen/digitizer ribbon cable straight out (circled in red)
6. Remove all T15 Torx screws. (circled in pink).
7. Now lift the assembly away from the front bezel
8. Clean and wipe any dust and debris build up from the front bezel

9.Place the new touchscreen inside the front bezel. There are tabs circled in pink in the picture link. The edges of the touchscreen is placed on the inside of the tabs. Make sure the touch screen is placed in with the ribbon cable on the correct side of the bezel so it can reconnect to the motherboard. The tabs around the bezel are meant to keep the screen lined up and square. The gasket around the touch screen is facing down/against the front bezel.

10. Pry the defective touchscreen carefully away from the assembly. It is held on by adhesive tape around the edges. A little prying evenly around the touch screen and the screen will release from the adhesive tape. Leave the adhesive tape alone. Once the defective touch screen is removed, place the assembly in the correct orientation on top of the front bezel and tighten all the torx screws evenly. Then re-insert the touchscreen/digitizer ribbon cable. Make sure it is pushed in all the way. You will feel some resistance when inserting the ribbon cable it'll help you know when you inserted it all the way.
11. Plug in the yellow power wire and re-install the back half of the enclosure.
12. Tighten all torx screws evenly along with the 4 Phillip screws around the pluggin.
13. Reinsert the memory card and power on the display.
14. Go into Settings>Console>Calibrate touchscreen and follow the steps.


Getting to the calibration menu can be a little tricky since the new touch screen won't be calibrated. You may have to press "blindly" around the screen until the touch screen can find the button you wish to press. I like to use the tip of a pencil eraser or a stylus pen during the calibration. Example: You may have to press an inch away to the left or right, above or below of the button you wish to press. Once calibration is complete. It should be good as new.
This is my technique of replacing the touch screen. These instructions are here to help you build confidence in doing this task. However, I am not liable or responsible for the success of the installation. If you wish for me to perform the install, you will have the cover the cost of shipping the display both ways.
Keywords: Ag leader, Insight, Kinze Vision, New Leader, Touchscreen, Touch Screen, Repair, Replacement, digitizer, Trimble, FMD, 400214, 400214-04, bergquist, agleader, AgGPS Field Manager
$275 USD
Email: mgrocks64@gmail.com
Ph: (320)981-0405