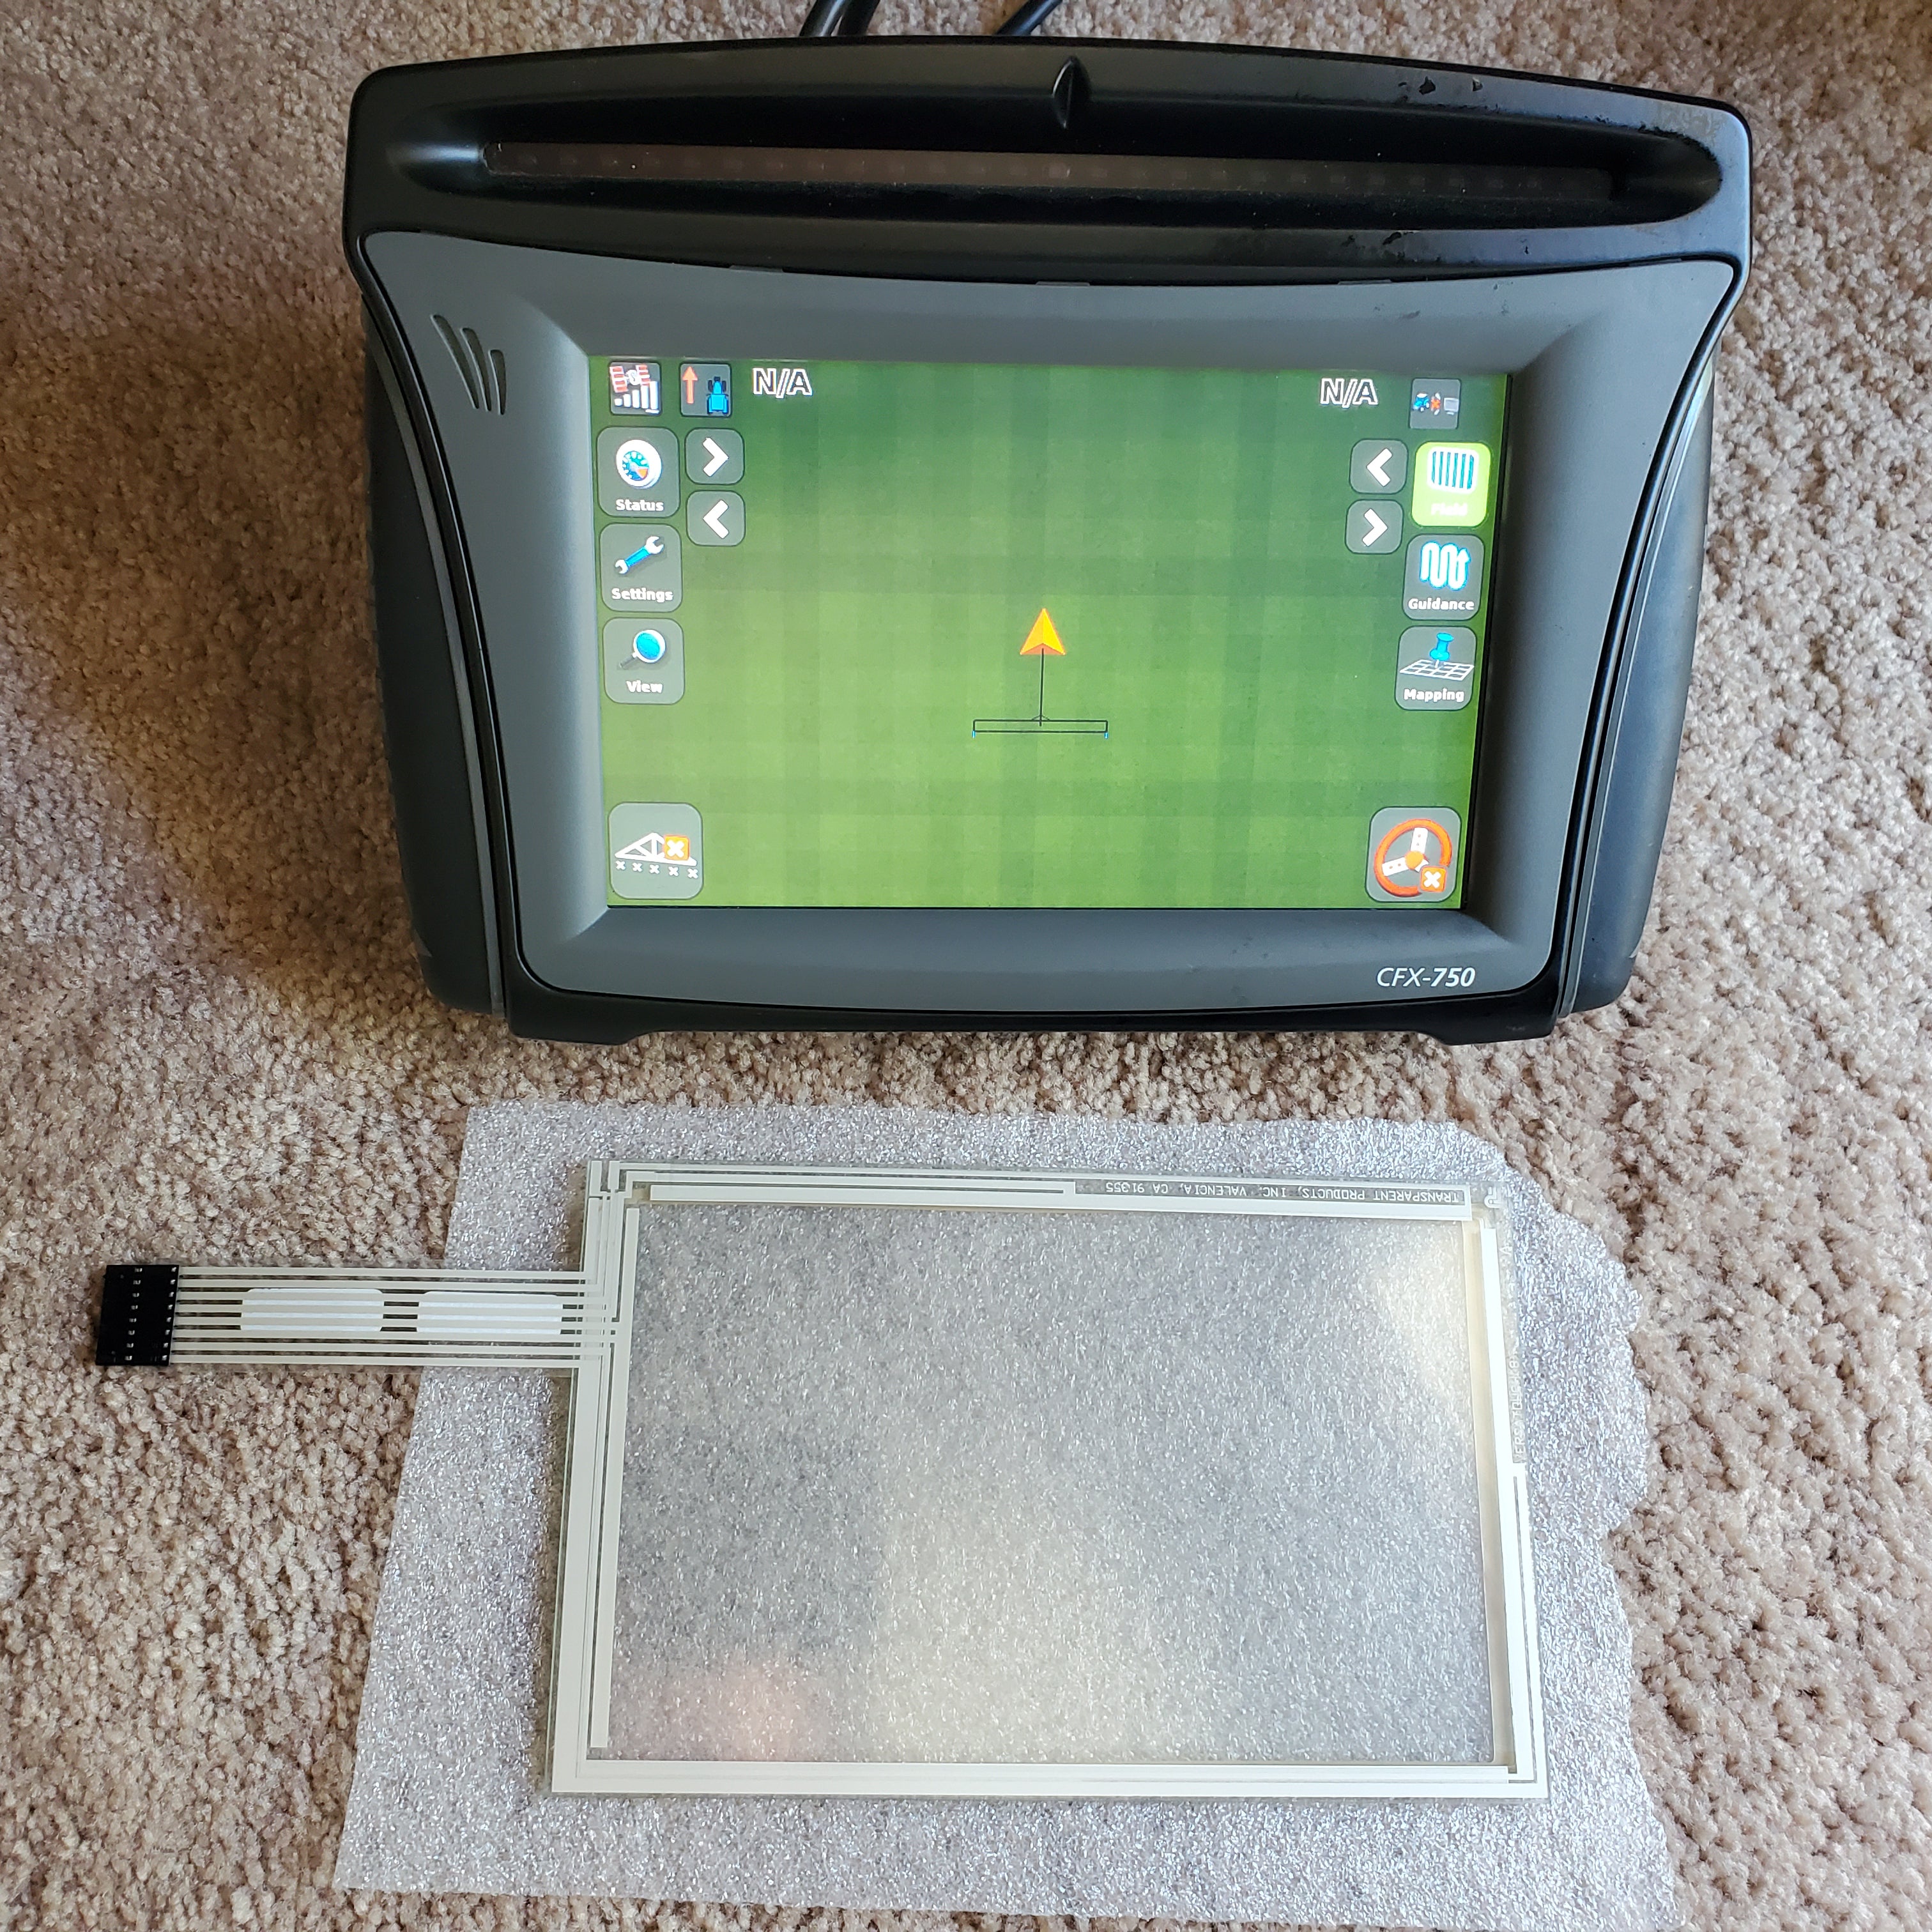


Listed for sale are brand new genuine OEM replacement touchscreens for a Trimble 750 FM CFX Display. If you do not feel comfortable to perform the repair after reviewing my tutorial, I can perform the install for you.
***Buyer Beware***
Michael Geihl- AgTouchscreens is the only third party supplying genuine OEM touchscreens direct to the farmer. Do not be fooled by other resellers or repair centers on agtalk, ebay, facebook and various other forums providing these services. They are peddling counterfeit, inferior, knock off touchscreens. The alternatives that you see available publicly online are to put it simply, junk. Do not put your farm operation at risk over a few dollars. A touchscreen is a vital component to these precision ag displays.
Sold as DIY repair kit or I can perform the in house repair service.
Full Installation guidance included.
Symptoms of a faulty touchscreen:
1. The display will boot up to the terms and conditions page and you are unable to press the button on the screen to advance to the main home screen.
2. Certain areas of the touchscreen may work perfectly and certain areas on the touchscreen may not sense your finger presses. The most common area on the touchscreen that gets worn out is the lower right corner. This area of the touchscreen is where we engage/disengage autosteer function and where we have to press to advance to the next screen during the bootup of the display.
3.You may have to press the touchscreen multiple times for the touchscreen to finally sense your finger presses. This is an early sign that the touchscreen is failing.
4. A unique symptom of a faulty touchscreen is also when you initially bootup the display and you randomly reach a screen that displays an hourglass and a "Finalizing firmware upgrade" "Please wait while the display finalizes the firmware upgrade. This process may take a few minutes." You then get to the point where your finger presses are also not recognized. The touchscreen has "shorted out" and caused a problem with the bootup sequence. A new touchscreen will also fix this problem.
I will provide some installation guidance below if needed.
Install time takes 20-35 minutes. (Depends how quick you can turn out torx screws)
Touch screen calibration is required after booting up the display in the settings menu.
Be sure that the display is at room temperature before doing the installation.
**Paypal account is required for sending payment**
Discounts are given with multiple quantity orders.
*#*Instructions*#*
T15 Torx bit
Phillip Screw driver
Flat Plade screw drivers
Take your flat blade screw driver and remove the rubber side guards as depicted. They pop right off with a little force. You will notice a torx screw is hidden underneath these rubber guards which needs to be removed.
Use torx T15 to remove all screws from the back

Remove this connector to to allow separation from the back enclosure.

1. Disconnect this ribbon cable circled in pink. This is the touch panel's ribbon cable
2. Remove all torx screws circled in yellow
3. Now lift the assembly away from the front bezel
4. Clean and wipe any dust and debris build up from the front bezel
5. Pry the defective touch panel evenly away from the LCD screen. Pry with gentle force. Take your time. Eventually the panel will peel and pop right off.
1. Lay the new touch panel onto the front bezel in the correct orientation so that the ribbon connector and be installed. Try to lay the touch panel onto the front bezel as square as possible.
2. Lay the LCD assembly on top of the touch panel while also keeping the torx screw holes lined up.
3. Evenly tighten torx screws in a criss-cross fashion. Do not over tighten!
4. Reconnect the Ribbon cable for the touch screen panel circled in pink from image above
5. Reconnect the Cable circled in yellow from image above
6. lay the back enclosure on top and fasten the remaining torx screws and press the side rubber guards in place.
7. Power on device and go into the calibration settings.
There is a short cut to get to the screen calibration by pressing and holding the power button and to top brightness button during the boot-up loading screen during the second loading progress bar once it reaches just passed 50%. This is considered a "Soft Reset"
If you can't get the short cut to work, getting to the calibration menu can be a little tricky since the new touch screen won't be calibrated. You may have to press "blindly" around the screen until the touch screen can find the button you wish to press. Example: You may have to press an inch away to the left or right, above or below of the button you wish to press. You may want to use something more precise such as the end of a pencil eraser or a stylus pen during calibration. Once calibration is complete. It should be good as new.
This is my technique of replacing the touch screen. These instructions are here to help you build confidence in doing this task. However, I am not liable or responsible for the success of the installation.
A unique symptom of a faulty touchscreen is also when you initially bootup the display and you reach a screen "Finalizing firmware upgrade" "Please wait while the display finalizes the firmware upgrade. This process may take a few minutes." You then get to the point where your finger presses are also not recognized. The touchscreen has "shorted out" and caused a problem with the bootup sequence. A new touchscreen will also fix this problem.

Keywords: Trimble, cfx750, 750 CFX, 750-CFX, 750-FM, FM, FMX, FM1000, touchscreen, touch screen, digitizer, brand new trimble agriculture FM750, OEM, finalizing firmware upgrade, hourglass,
Email: mgeihl@agtouchscreens.com
Ph: (320)981-0405